This project ran alongside the RSA Case study - the brief that I chose was 'Healthy Hearts. I carried out in
depth research into how my chosen pathway of 'development', could have a positive impact on an
individuals heart.
After researching what the most used touch point in a home is, I decided to
create a prototype of a tap that could be used in homes across England to increase the detection of
Cardiovascular disease. I then create a a website where the user's data could be sent to, as well as
creating a brand to support my product.
HTML was used to create the structure of the Heart Beat Tap website.
I used CSS to style the website, whilst carrying through a clear brand.
PHP was use to reference pages, allowing for a less time consuimng build. I used it to create the functionallity which sends the data from the user to the website.
This was used to program the Arduino Board allowing us to log data input.
I carried out four interviews with professionals in the medical field as well as posting to community groups on Facebook. The 'Healty Hearts' brief questions why people in lower-socioeconomic areas are more likely to experience health inequalities and less likely to seek medical assistance. For that reason, these groups were specifically chosen based on location from the secondary research undertaken for the RSA Case Studymy; study focused on areas of deprivation. My research showed that "99% of homes in England have a tap" in order to have access to drinking water, hence the creation of the Heart Beat Tap. Regardless of a individual's financial status they are extremely likely to have access to running water and therefore a tap. This is supportive of the Sustainablity Development Goal 11. This exact goal focuses on building "inclusive, safe resilient and sustainable" cities and communities. As well as this, it means that for those who have a fear of medical proceedures or who do not like technology, feel comfortable using it as it is nothing different from most people's daily routines. I knew that the protoype was going to built using an Arduino Board so I explored the coding language of C++ as it is the language that supports them. To explore how Ardunio Boards work, I looked at how to add a button to a breadboard and how to get a light to turn on when that button is pressed down.
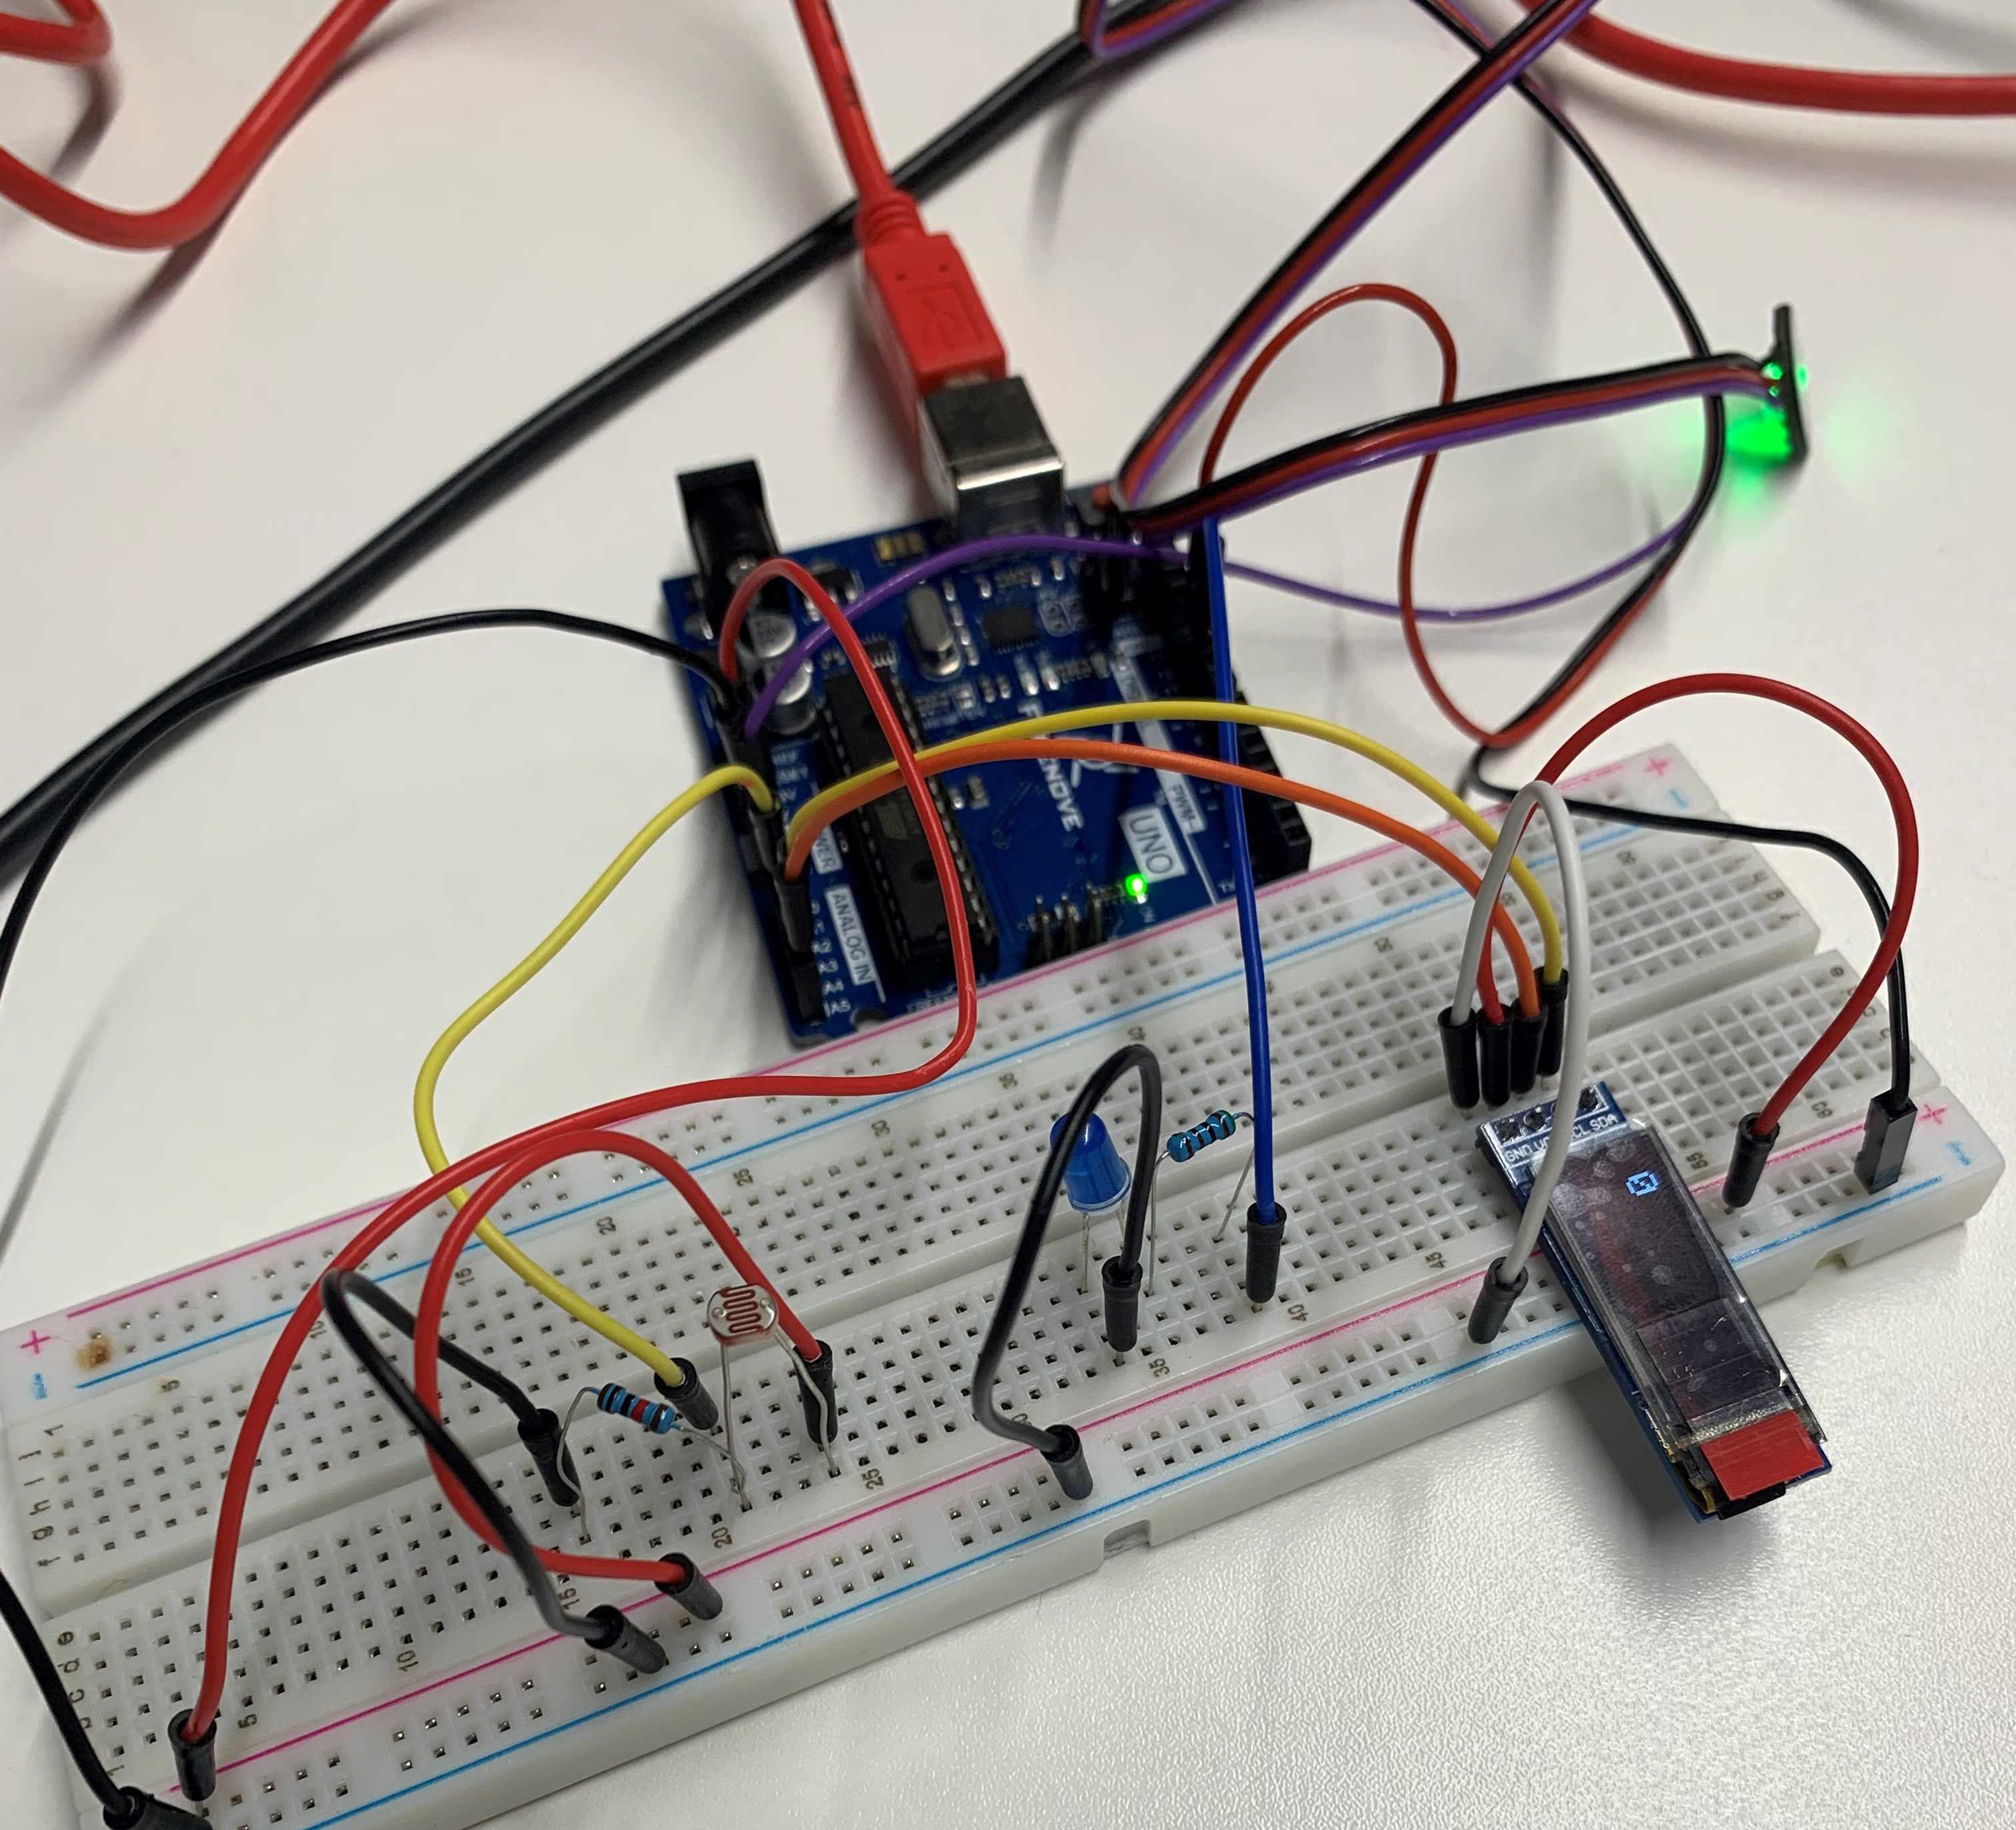
Next, I looked at a pulse sensor and attaching a led screen to show the results. As well as this how
the data being inputted appears on my computer through the ‘Serial Monitor’.
Next I created a light sensor. The reason this was done
was to create a way to power on and off the Heart Beat Tap – when the sensor is covered the technology
inside the tap turns on (led screen, heart beat monitor). I found that C++ and the software I used is
quite basic, meaning that it struggles to run teo processes at the same time. This meant that when I
added a delay of 1 second to the lightsensor code, to slow down the data I was receiving from the
heartbeat sensor to make it more manageable. It also allowed me to measure the delta, meaning that I was
able to create two variables, one being the previous reading, and the other being the (current) changed
reading and so, setting a specific rule for when the sensor should power on.
However, the heart beat sensor has to run with a delay of 0.20 seconds in order to read a pulse quickly and effectively. Once it has run its loop once it restarts again. See image showing how both the light sensor and the heart beat function are connected as a circuit. E.g. if there is a change of more than or 10 or –10 then the light sensor can recognise that it is being covered or there may be a person in the room and knows when to come on/off.
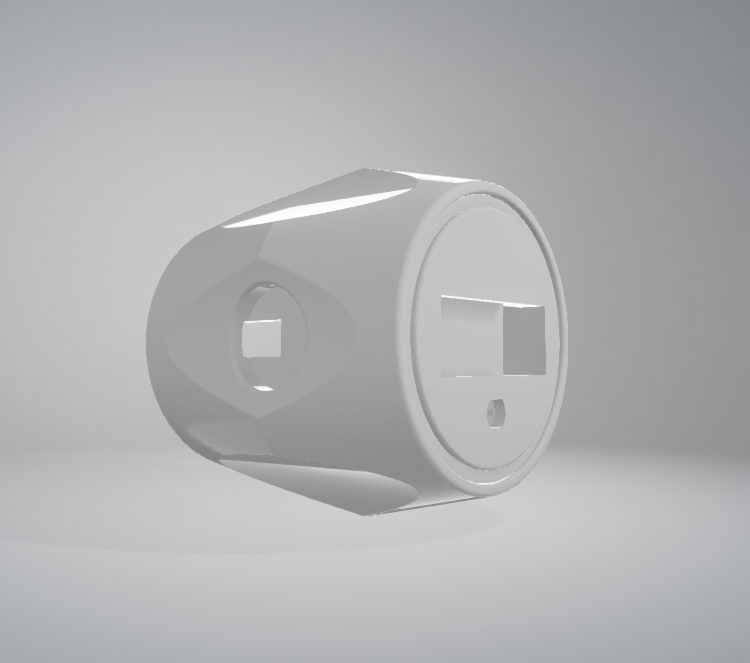
I already had the hardware and wiring to make the tap 'work', to take a pulse and display the
reading, so I asked one of my peers to create a
3D render for me which I could use to laser print the tap.
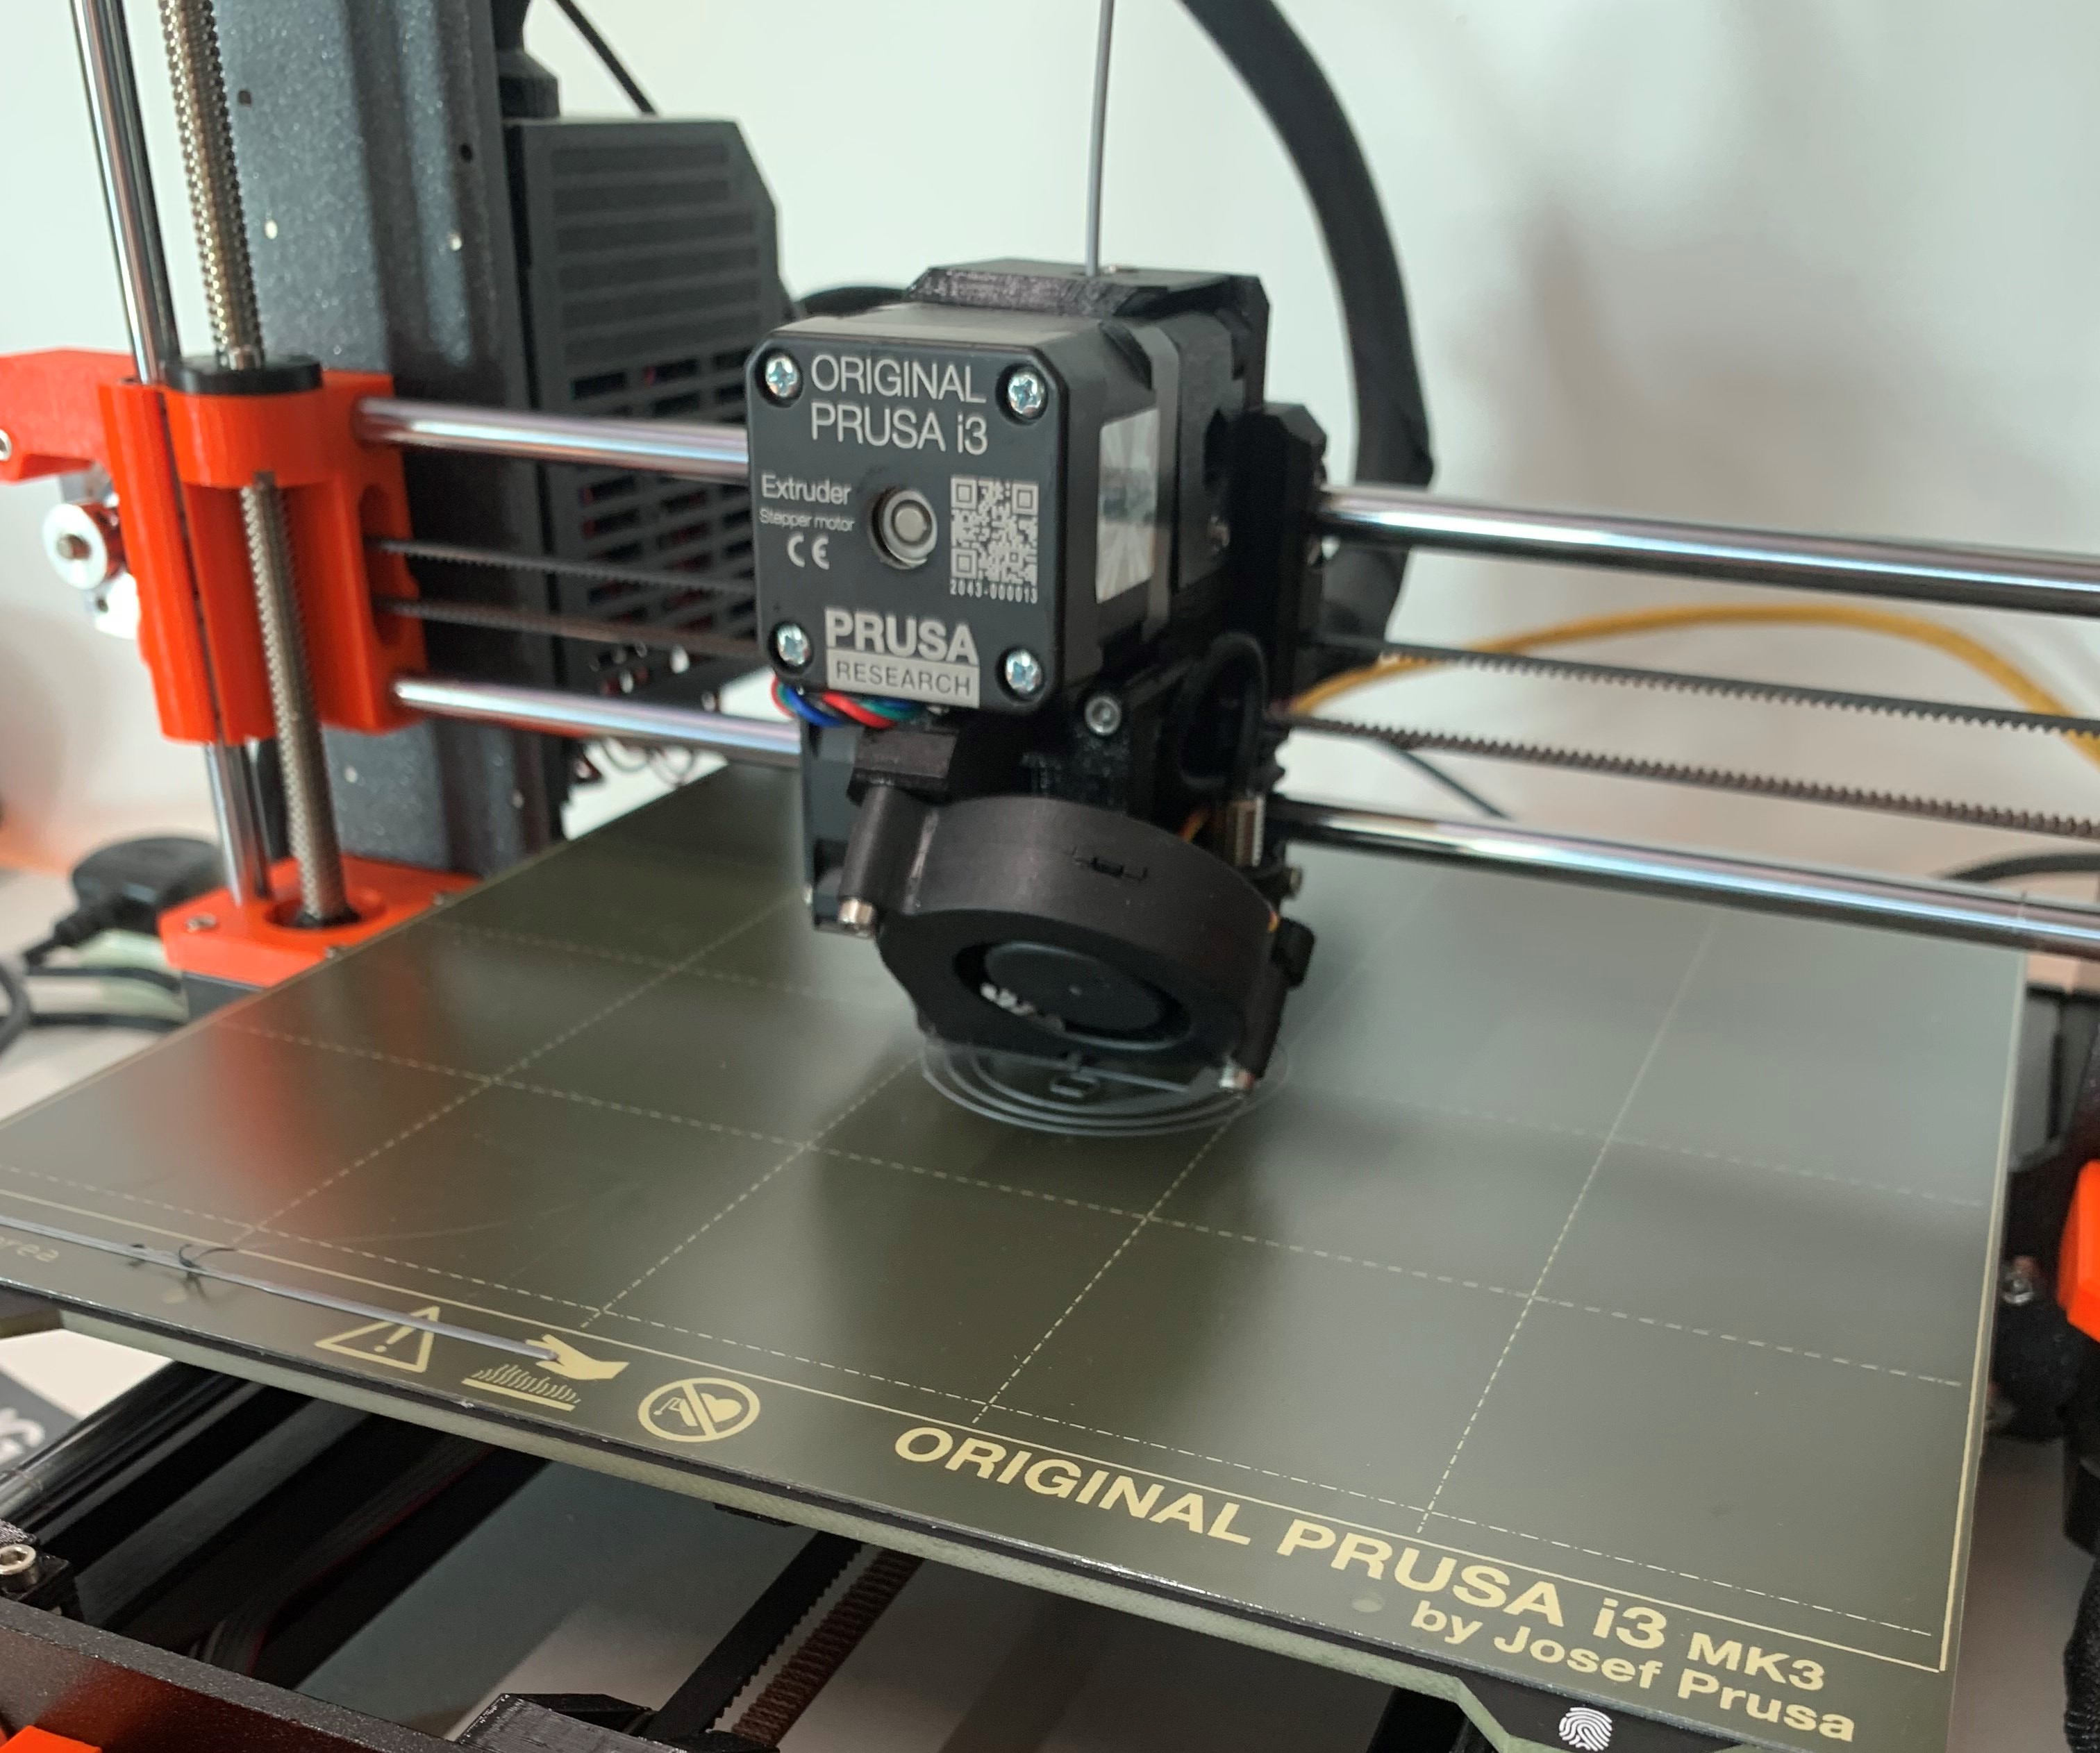
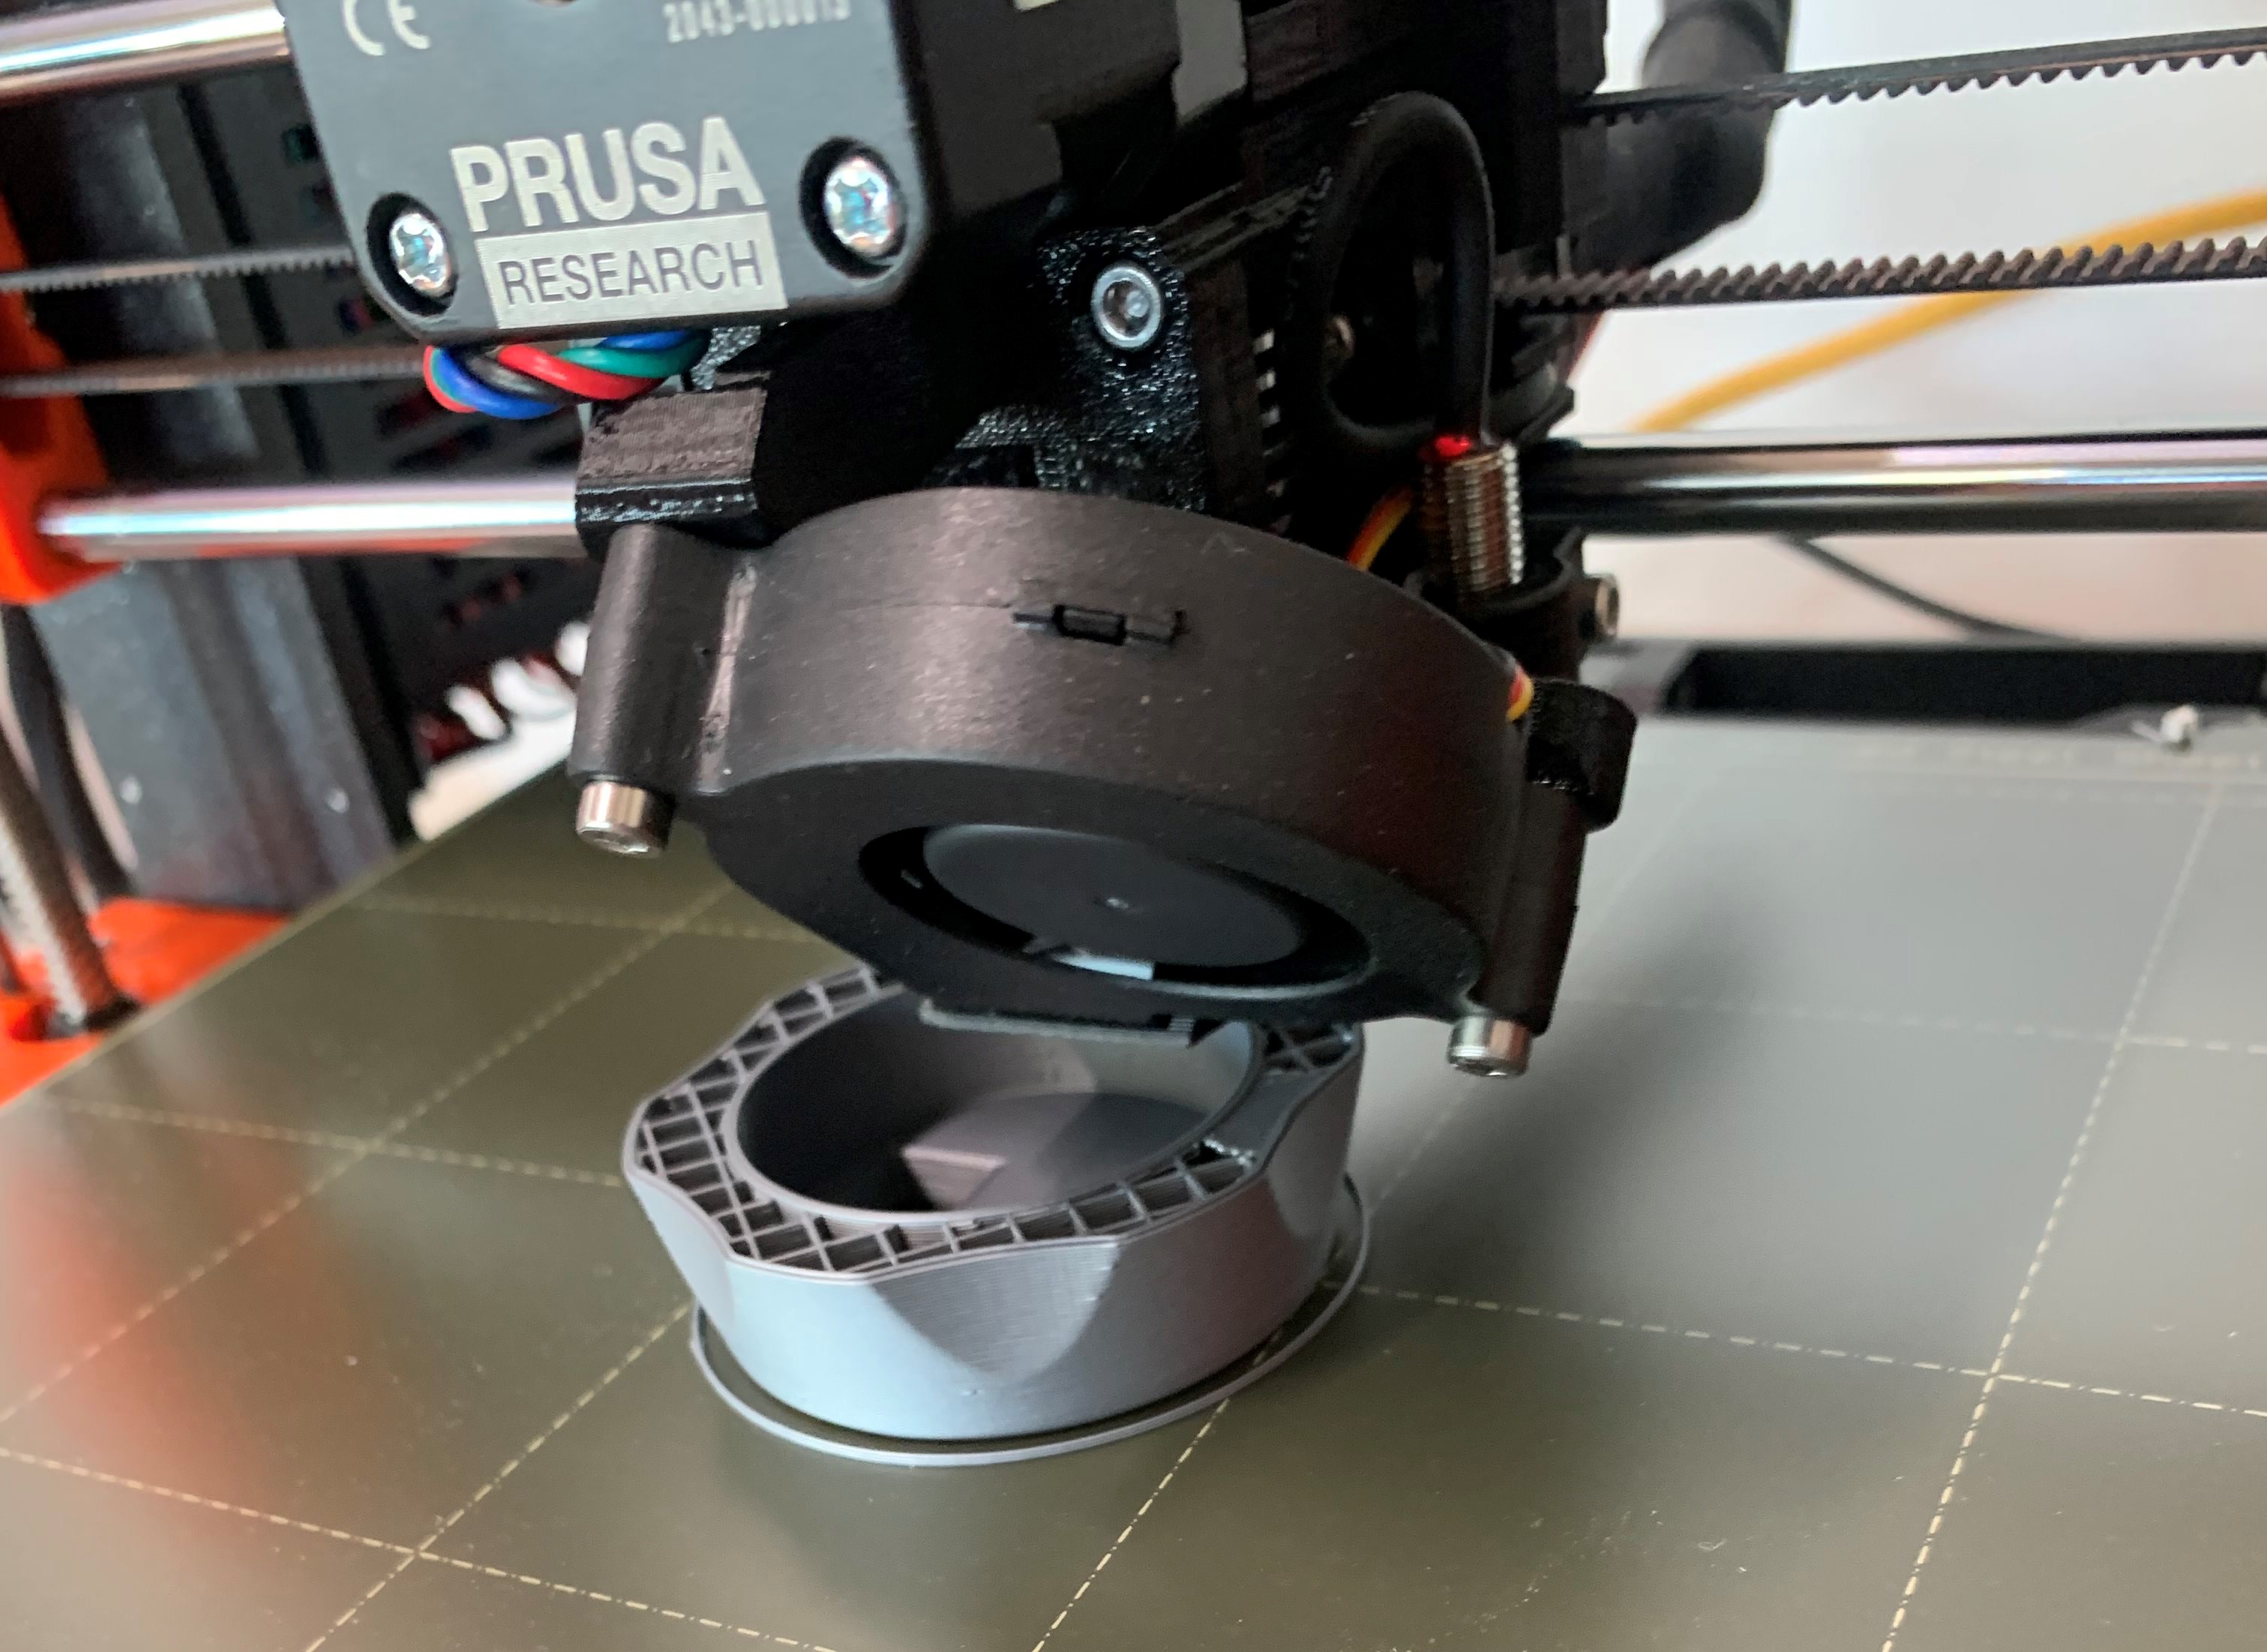
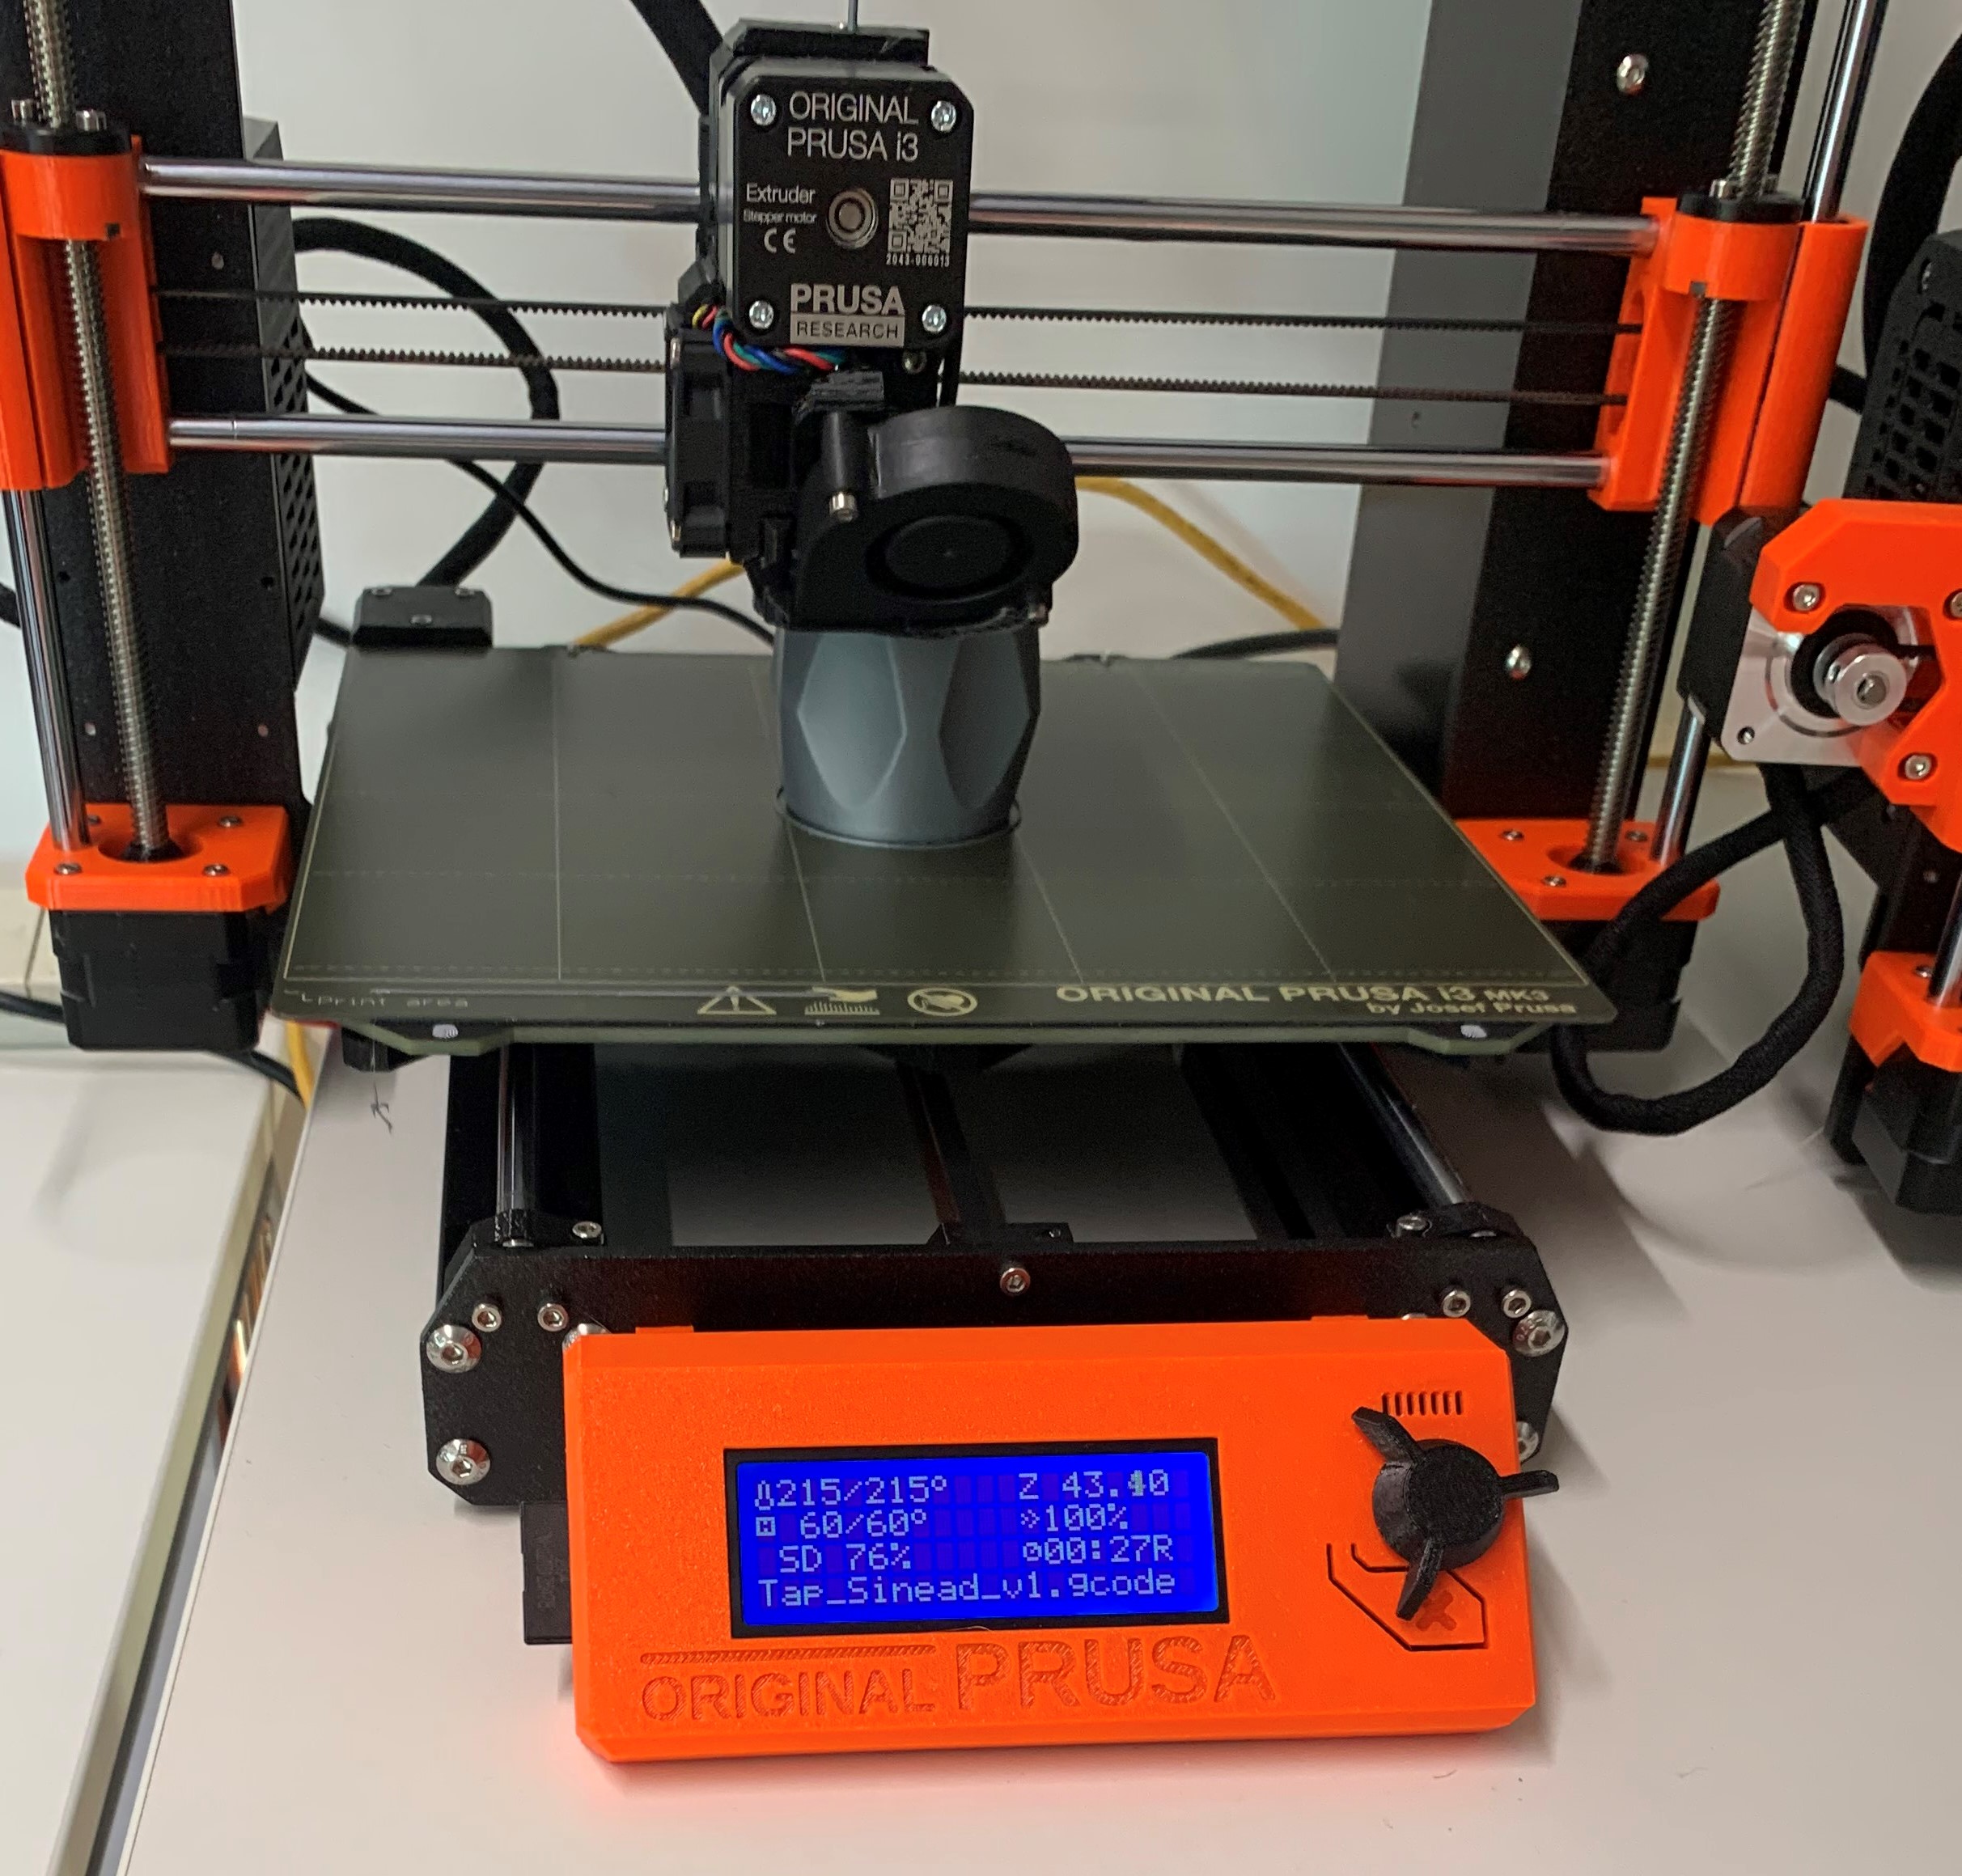
Laser printing the
draft version of tap, to do so I moved the file of the tap render onto an SD card to insert it
into the laser printer. The 3D student who assisted me with the render provided me with two
files types, 'obj' and 'stl' and both were able to be exported with a ‘tolerance of 5μm
(0.005mm), roughly 70k vertices’.
The thought process behind the tap is that most individuals brush their teeth/drink water/do
their dishes daily and therefore touch a tap potentially multiple times throughout the day. So
when the user places their finger or thumb on the tap to carry out any of those tasks, their
able to recieve a reading of their heartbeat.
A element that was added to create a more
sustainable product, as directed by
Sustainability goal 11, was the light sensor feature. By adding this it runs in an ultra
low power mode and saves power as the device only fully turns on when the sensor detects a
change of light in the room or near the tap. A Lithium Polymer (LiPo) battery is used and can be
charged via micro USB. To see the code ran to make the light sensor feature work, click here.
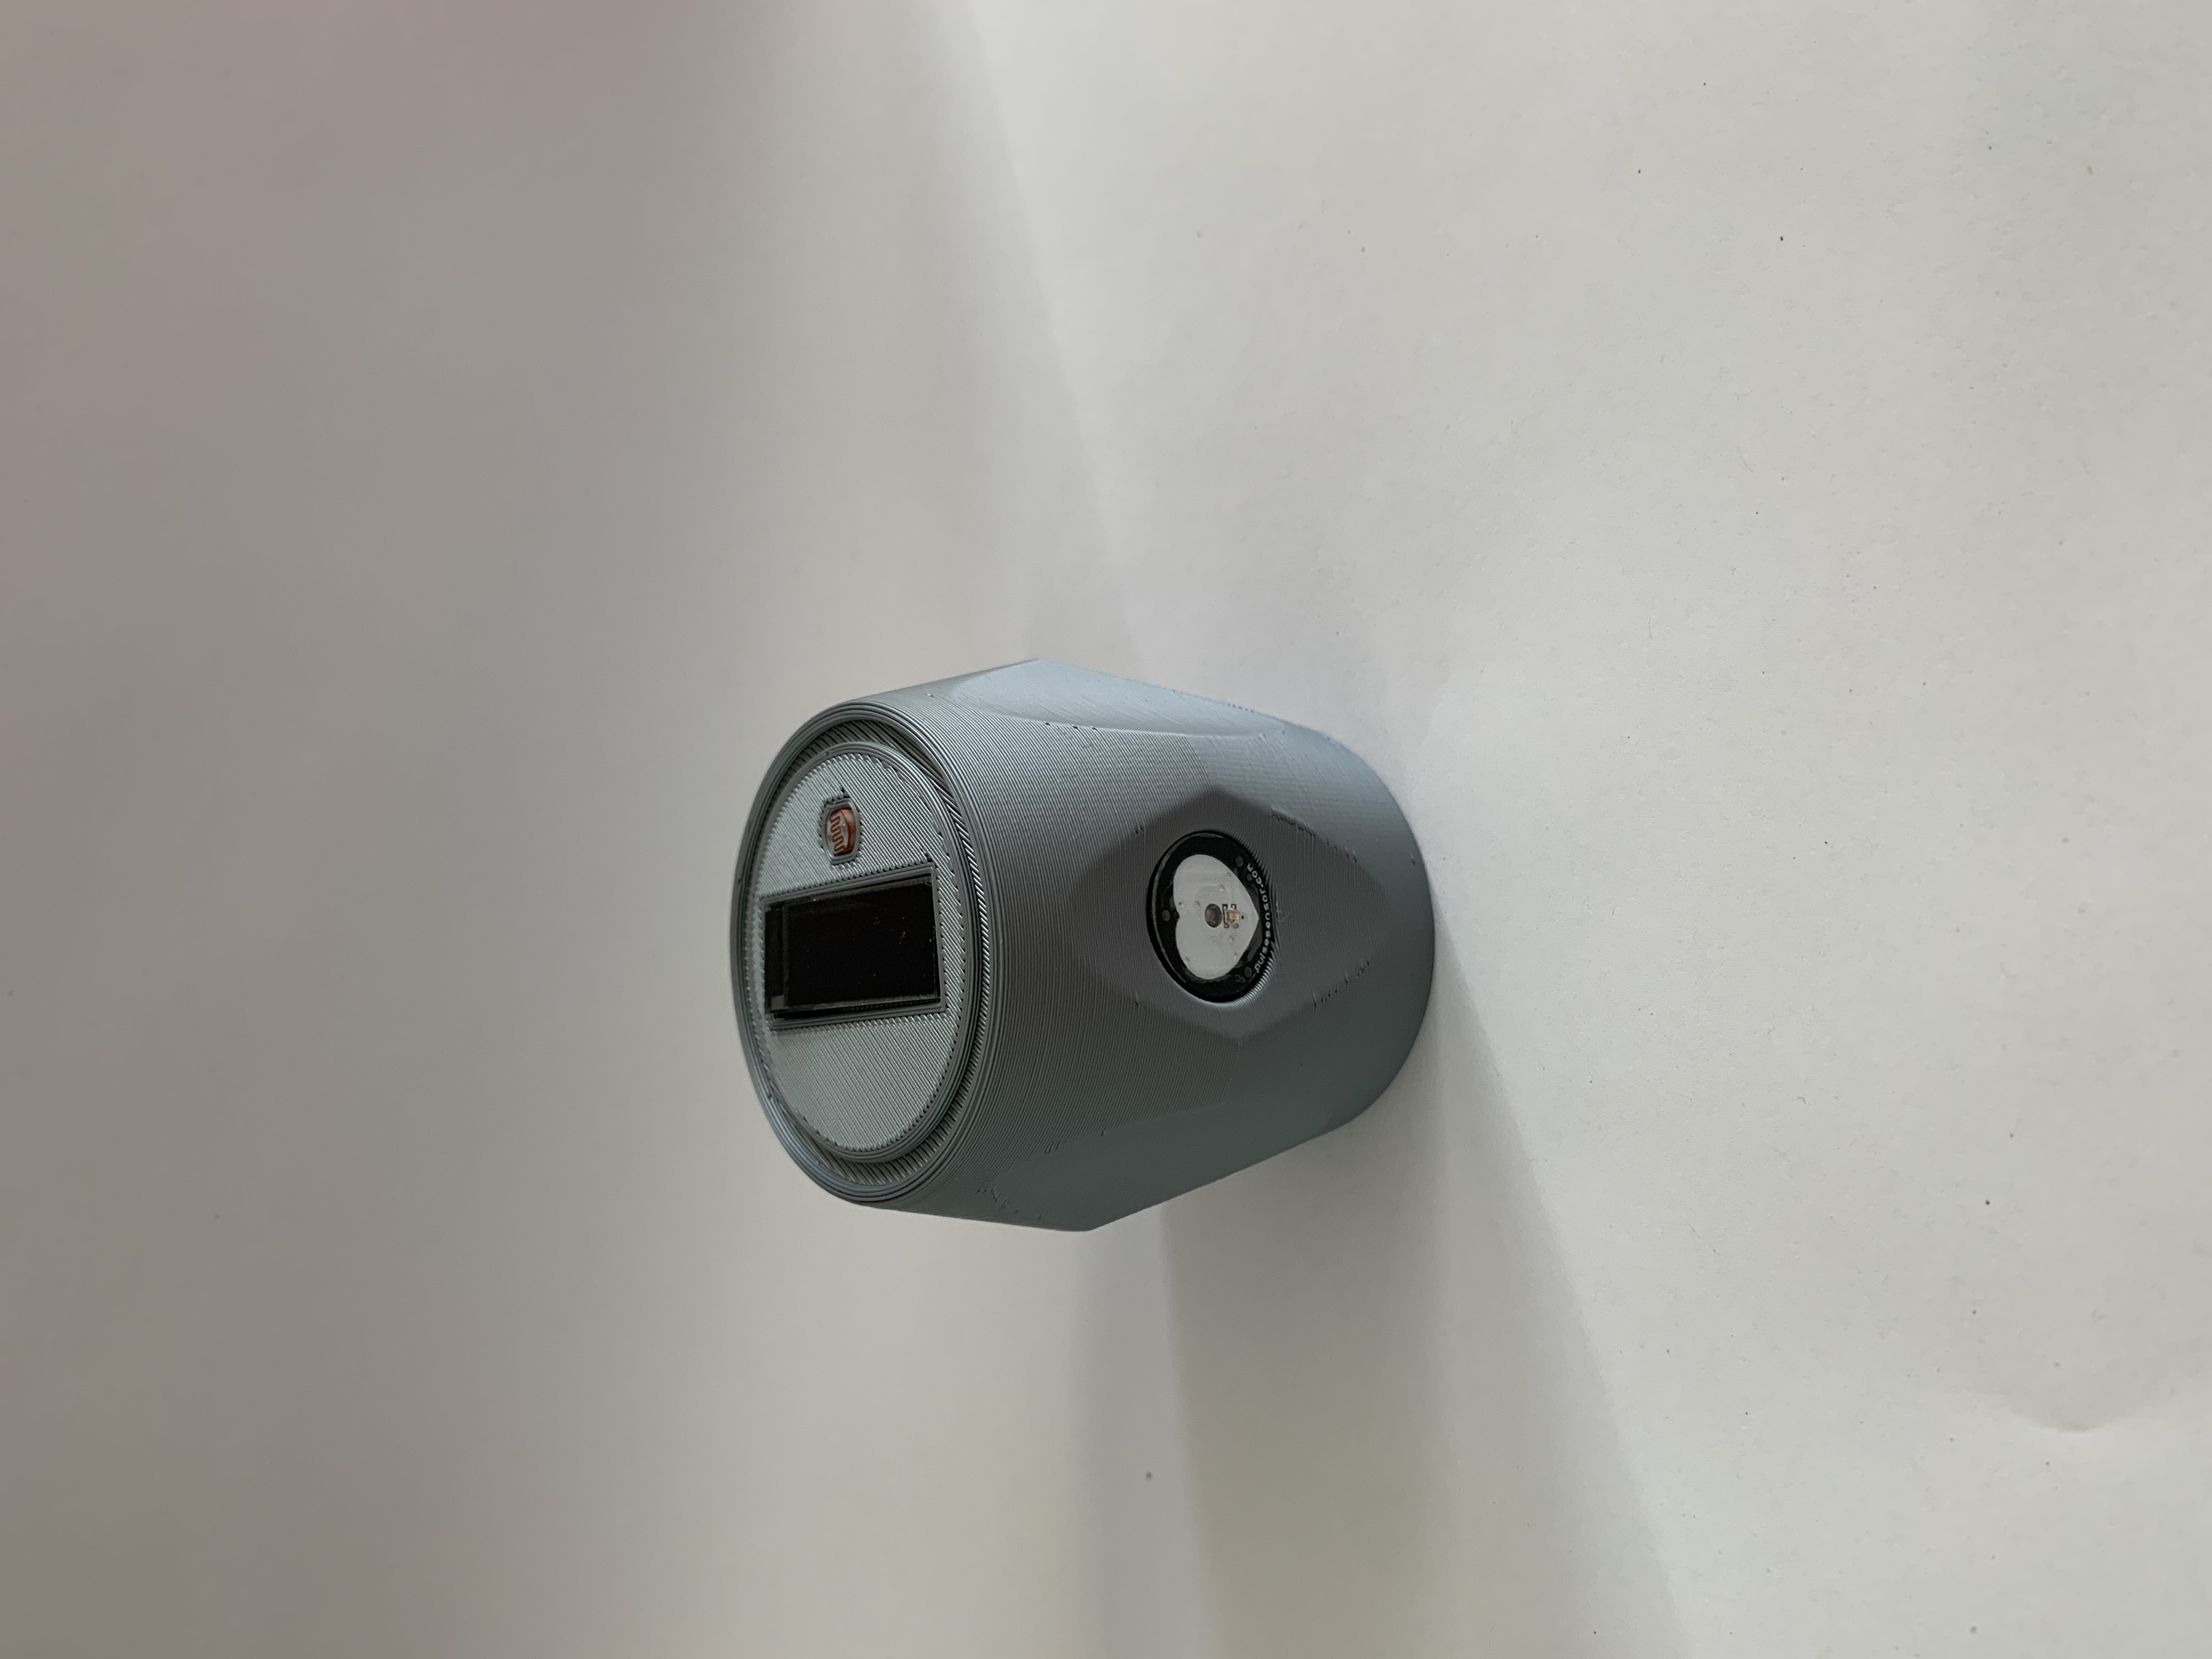
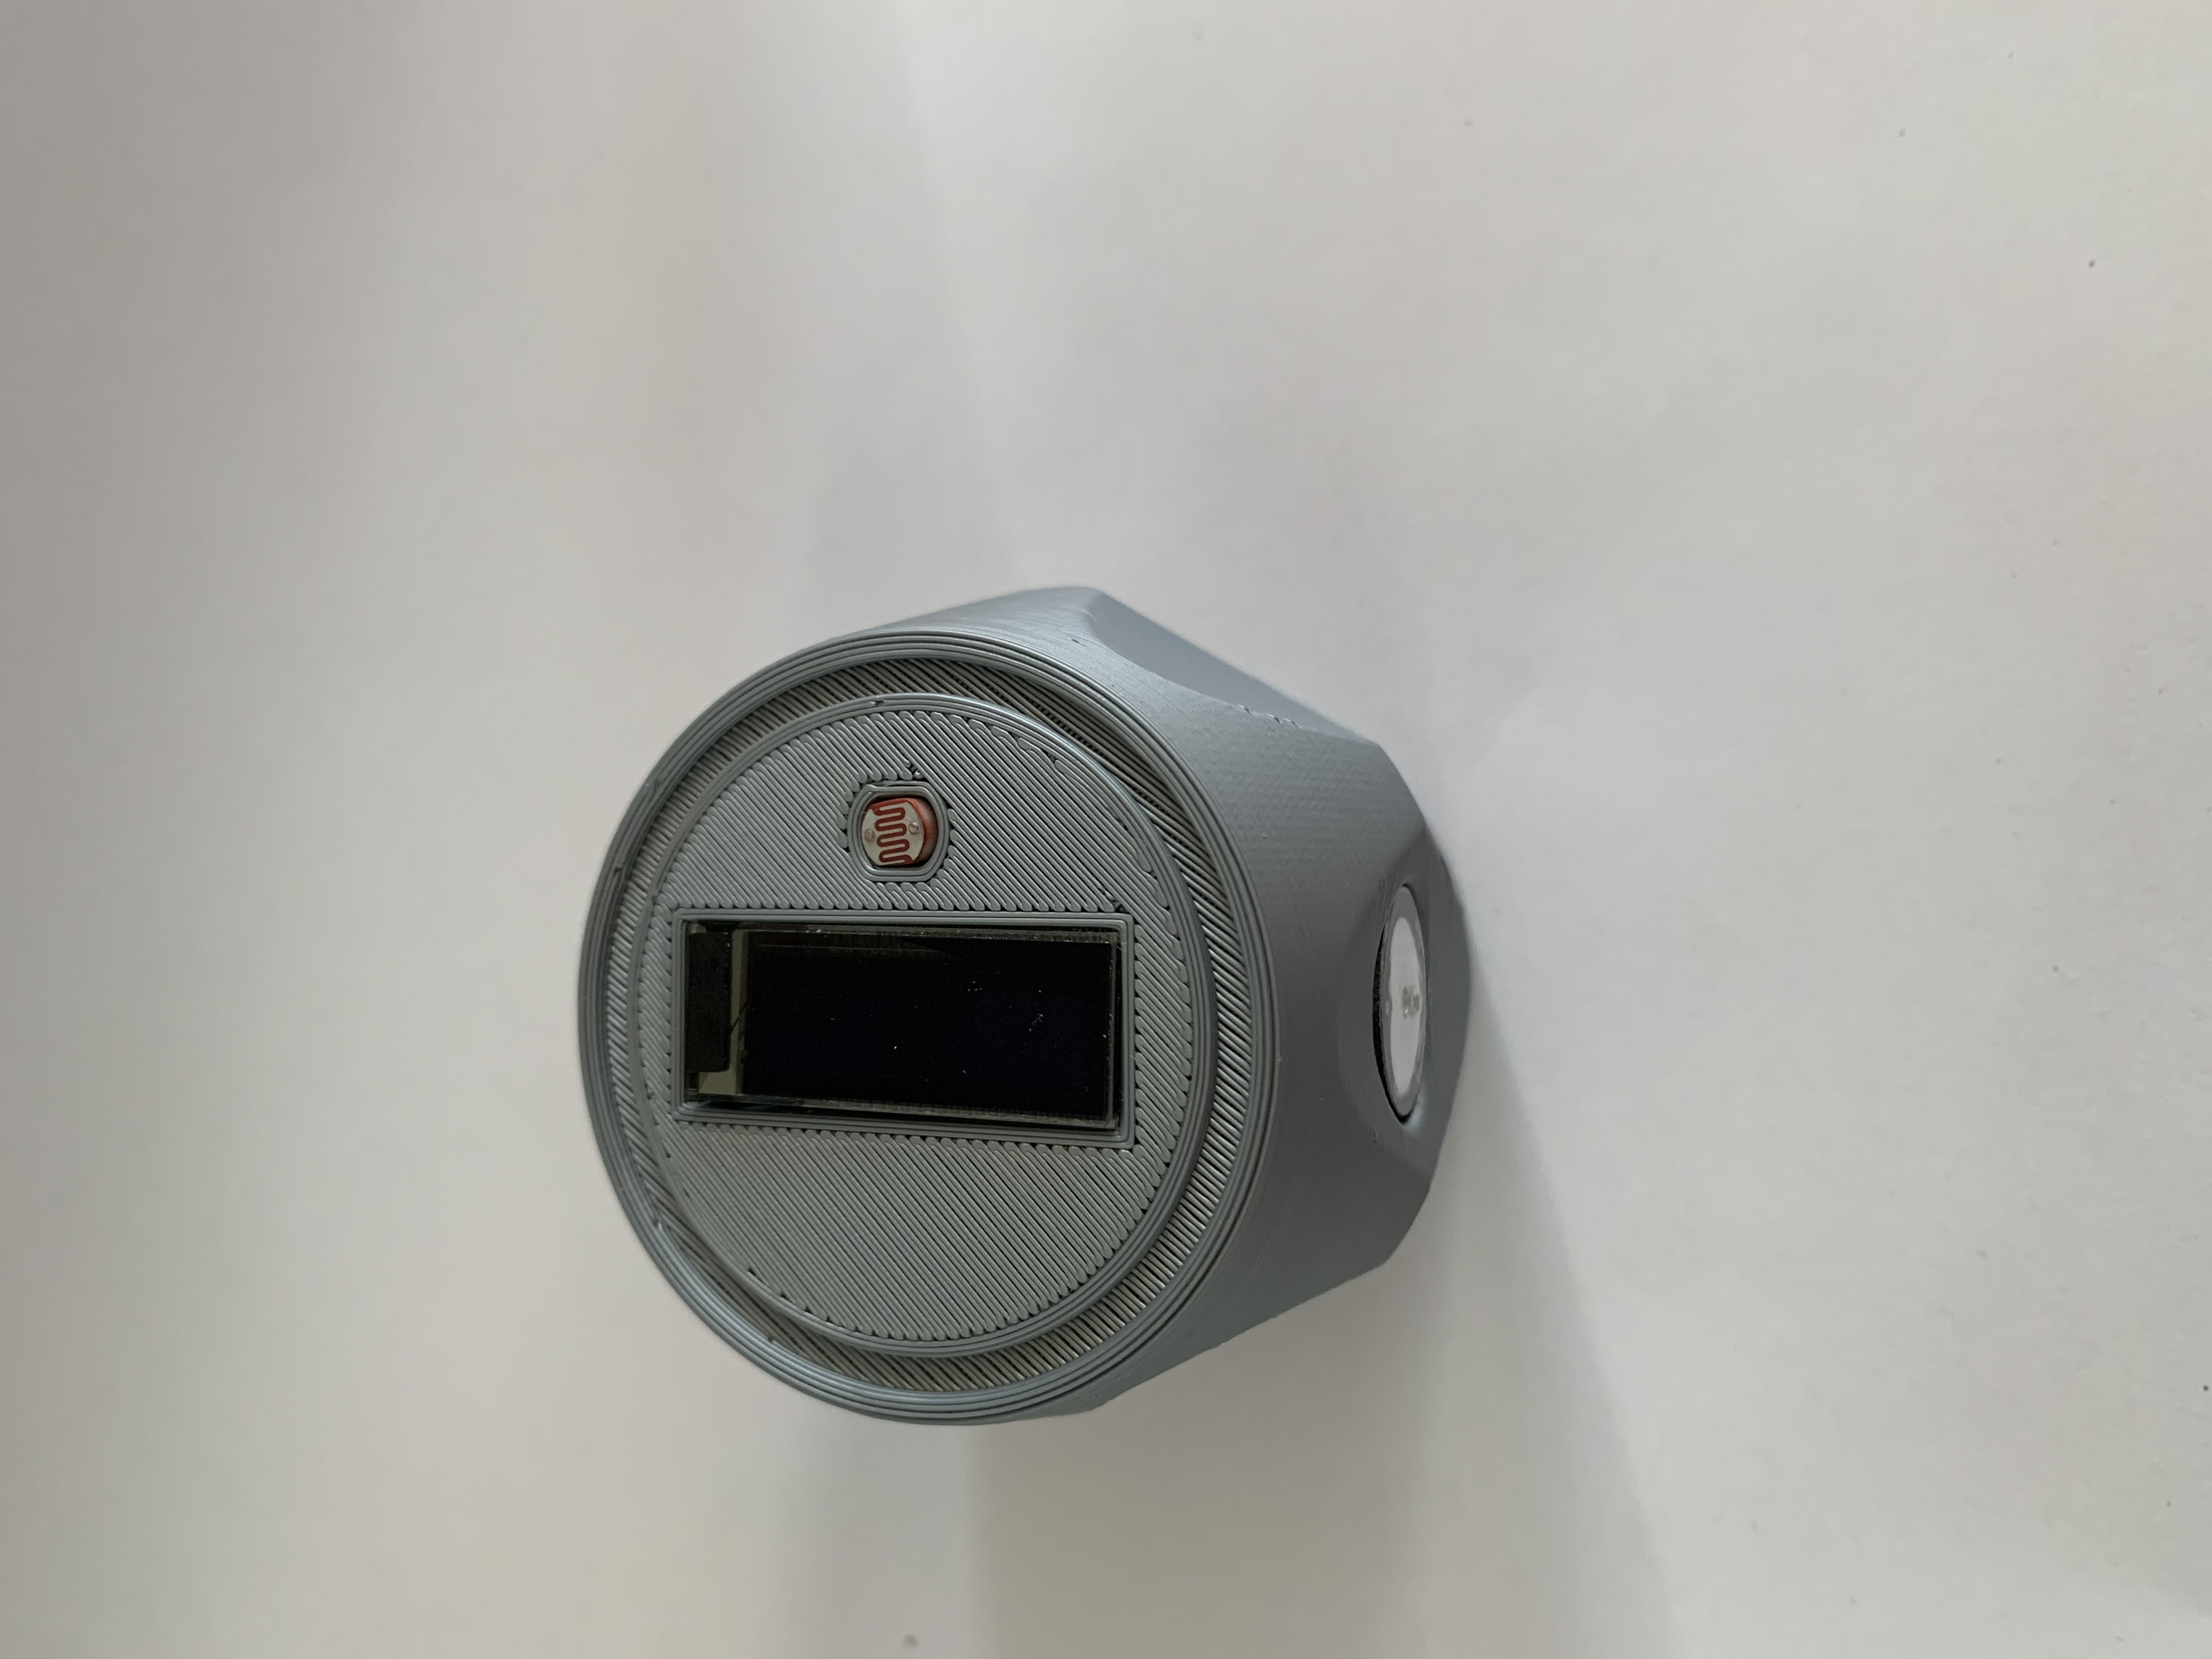
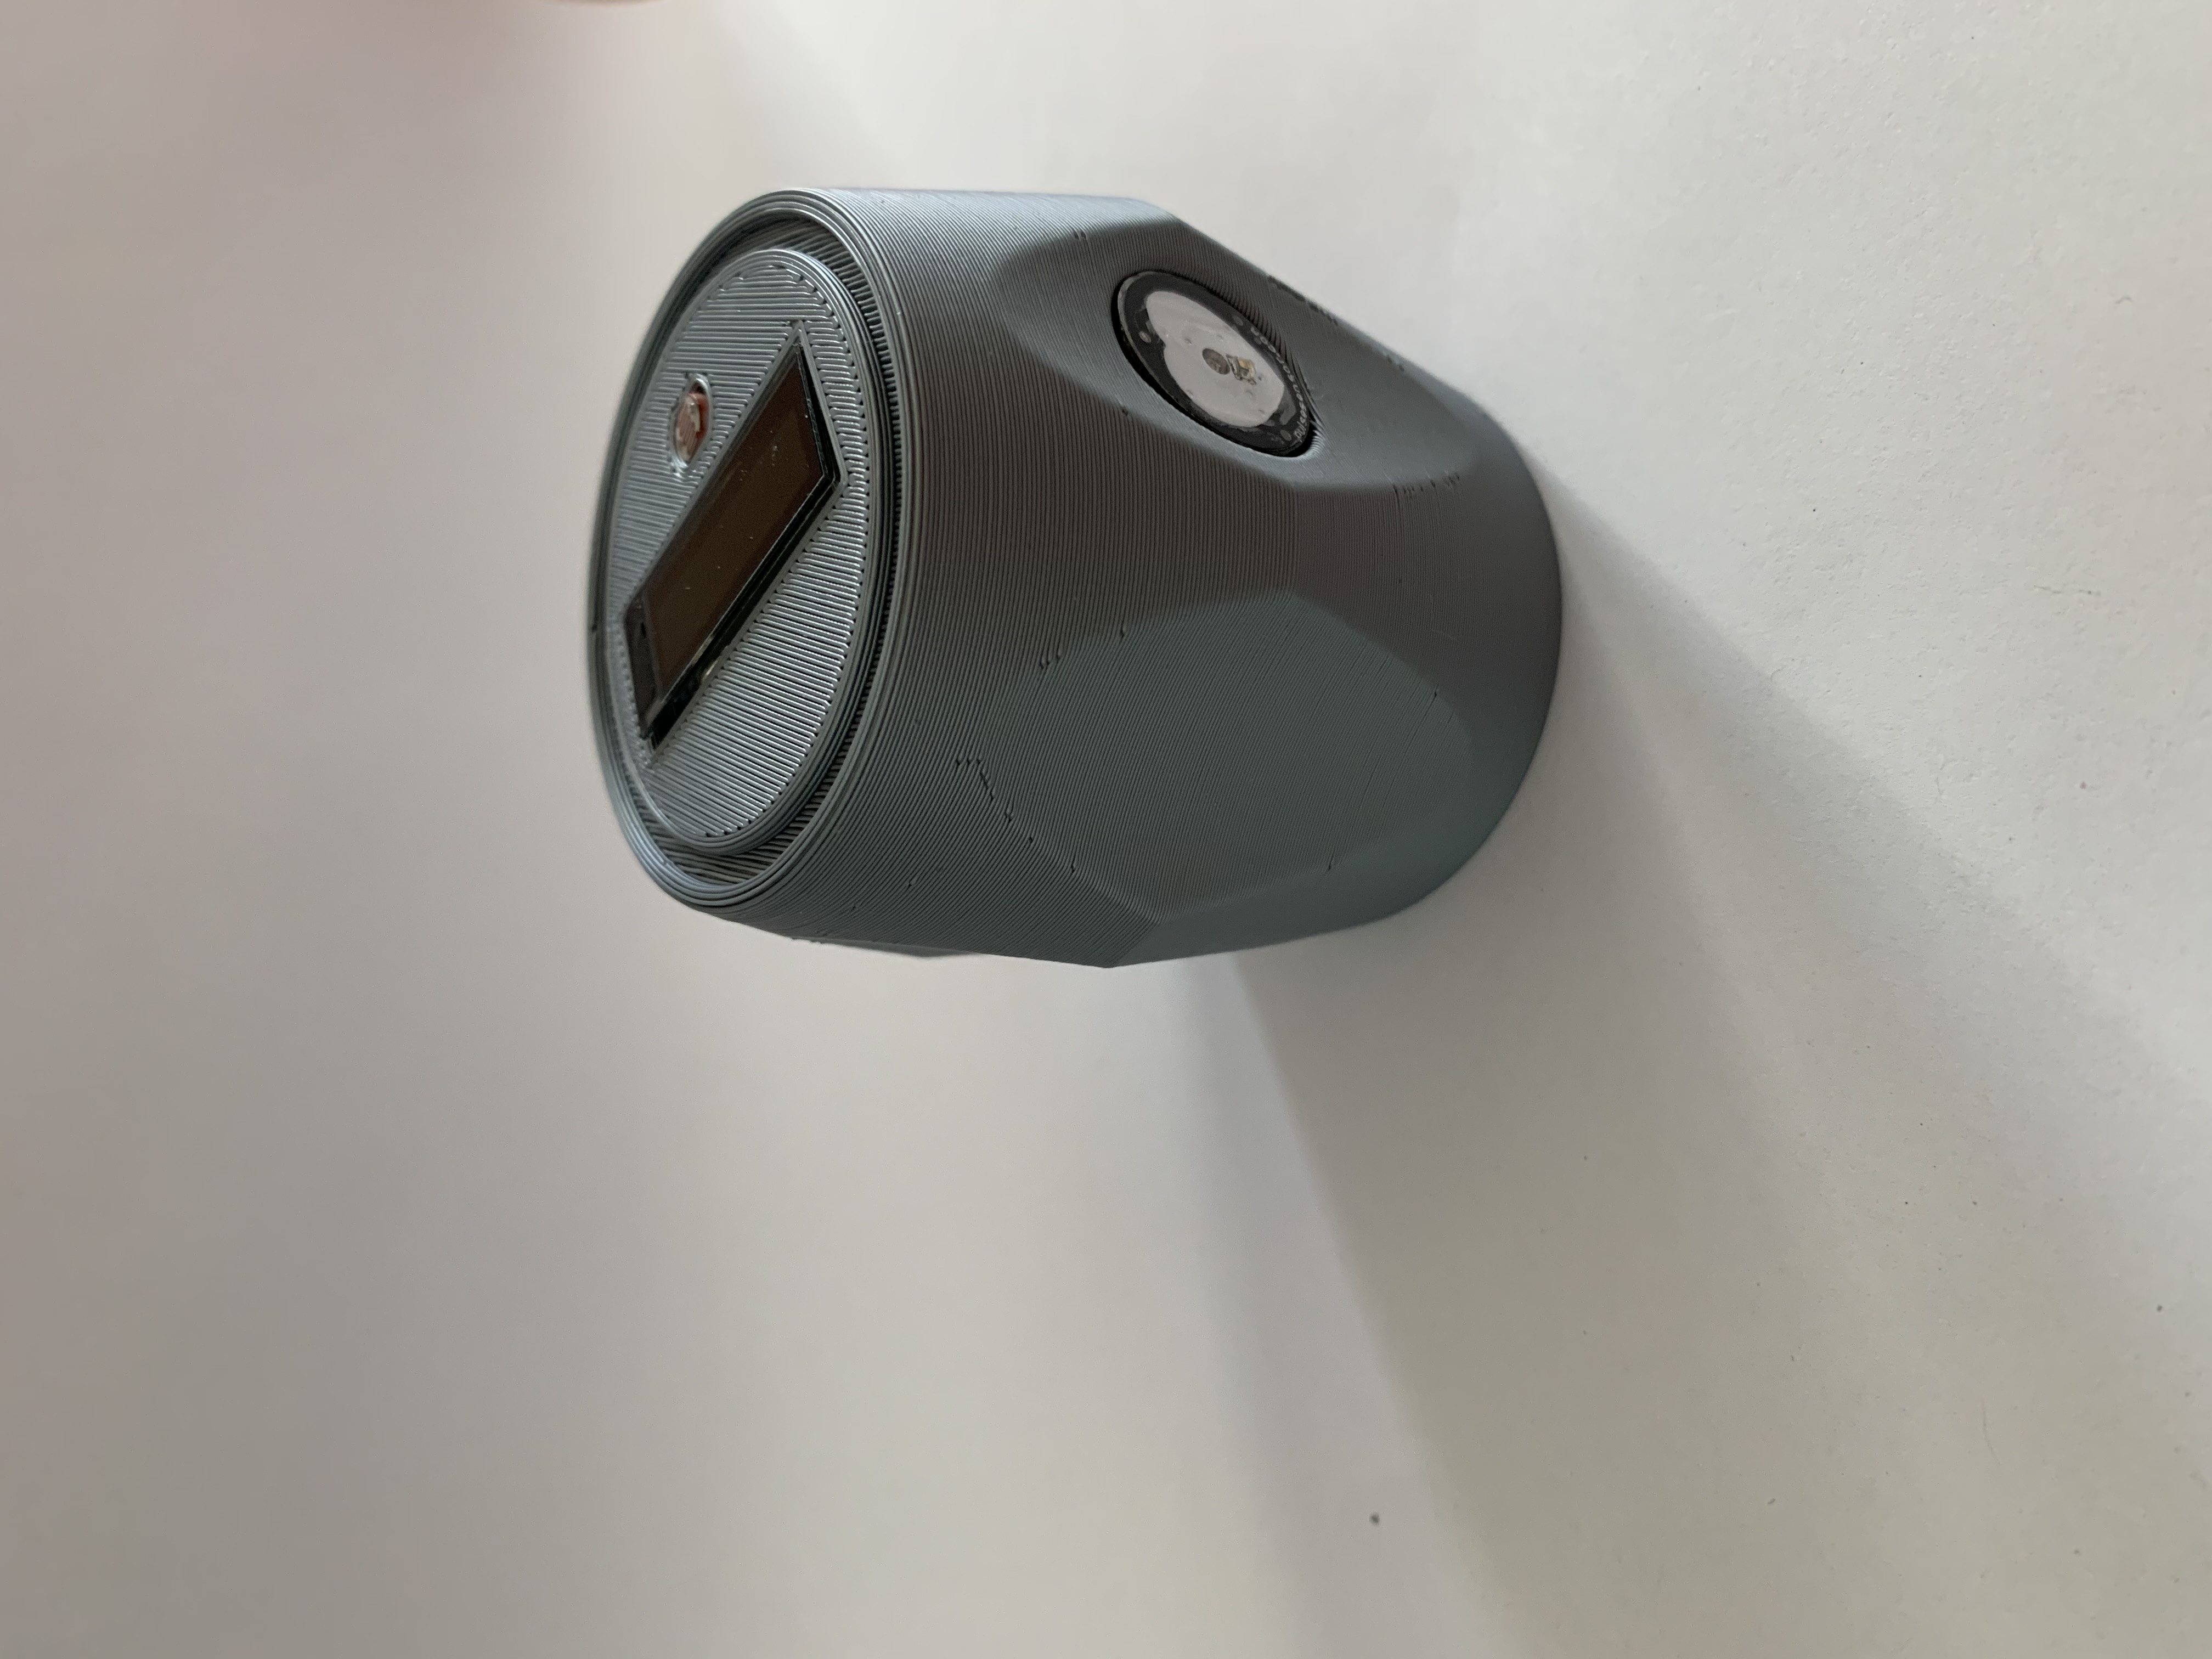
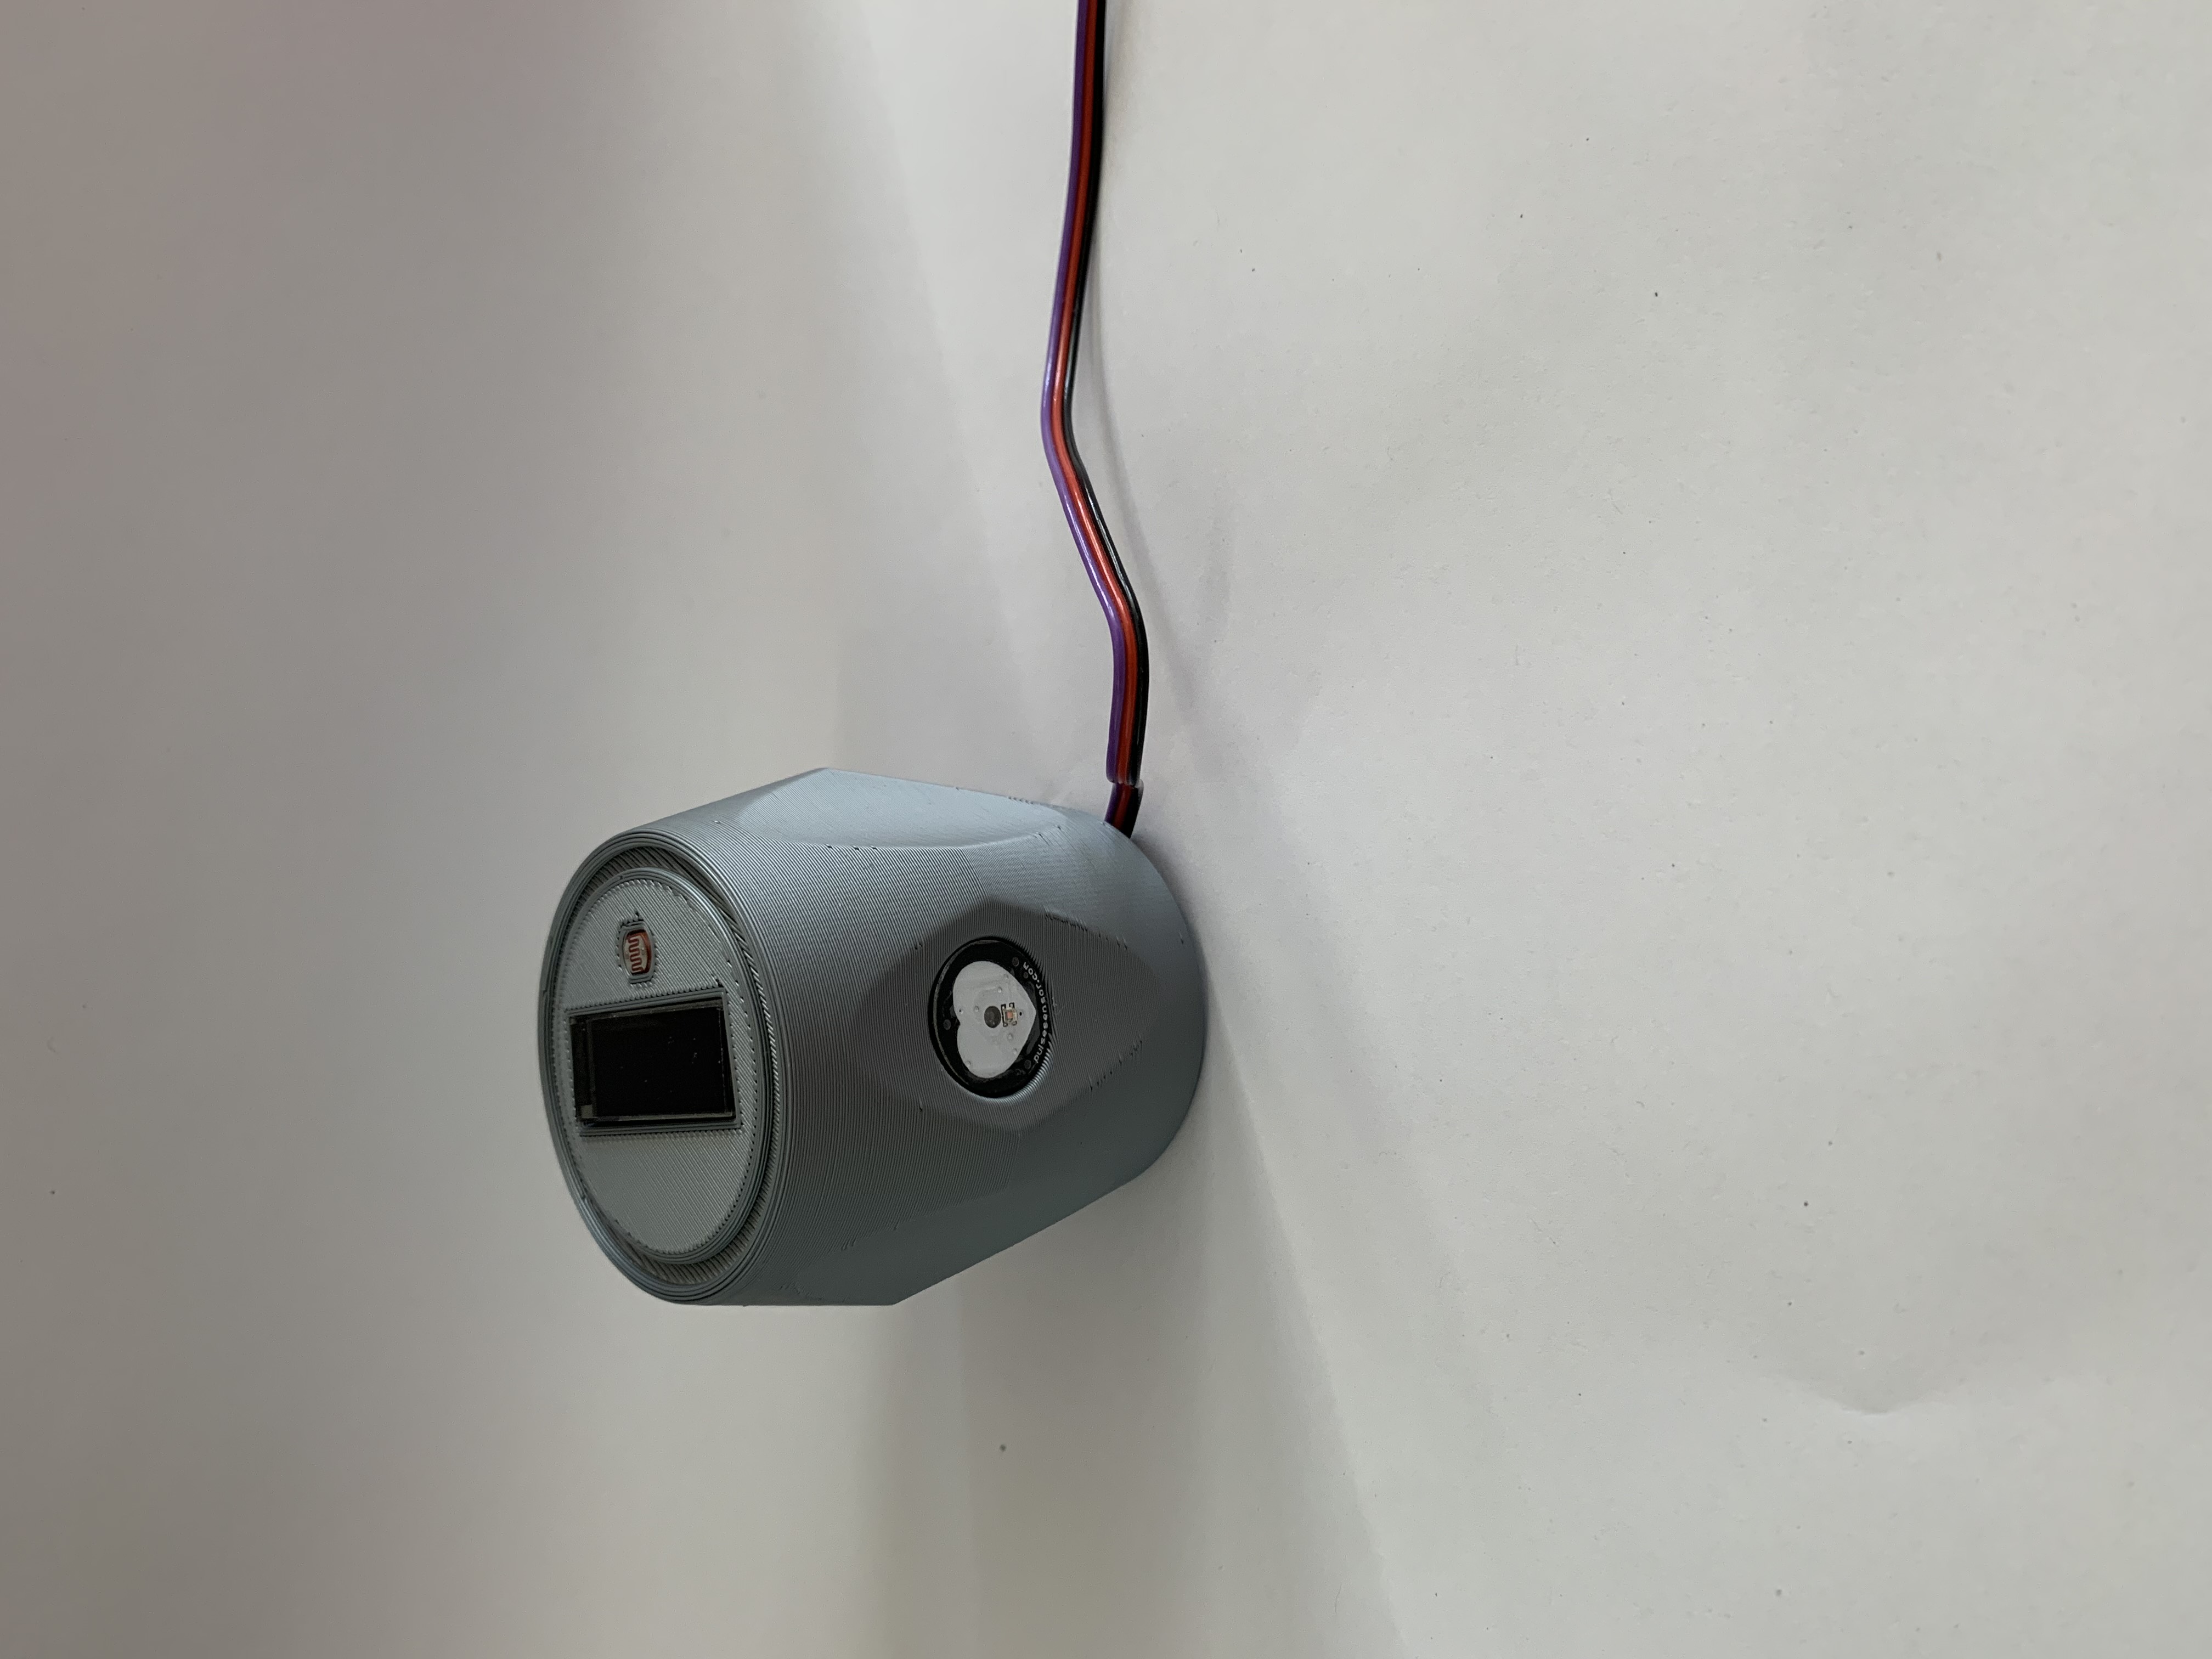
Below you can
see the 3D printed prototpe with the hardware attached, this can help you visualise how it would
appear whilst attached to the plumbing. I have copied the 'user instructions' that can be found
on the heartbeattap.co.uk in the button below.
I created a website for the Heartbeat Tap. This helps with the proof of concept as you're able to
imagine it as though it is a real product with it's own brand. Most importantly, it helps you
understand that is this was implemented into homes, how the user would be able to view and keep
track of the heart's results. As futher development, it could also have the average healthy
heart rate, so if the user's in above or below, there is a suggestion to seek medical attention.
As this is only a concept idea as it stands, it takes one readers results and outputs them onto
a certain certain on the Heartbeat Tap
website.
I have created the database struture to include a PRIMARY KEY this is an
industry standard when working with SQL. A unique key to each piece of data entered into the
database is associated with. If I was to develop this project further, I would think of a
solution of how I could differentiate between which user is holding the tap and when. I would
then create a login feature to the website so each user would see only their results. As at
current the system is only developed for a singular user for a singular database - this is
something I would definitely come back to again if I was to re-develop the system. I had issues
trying to encoprating this but with more research I feel I could create a system that allows
this funcatnality.
In order to get the readings from the user, to the microcontroller Arduino and to the frontend of
the website. Using AWS (Amazon Web Services) as my cloud computing platform for hosting this
project was a researched decision, I made due to it being ubiquitously used within industry, for
example Netflix, spotify and Adobe.
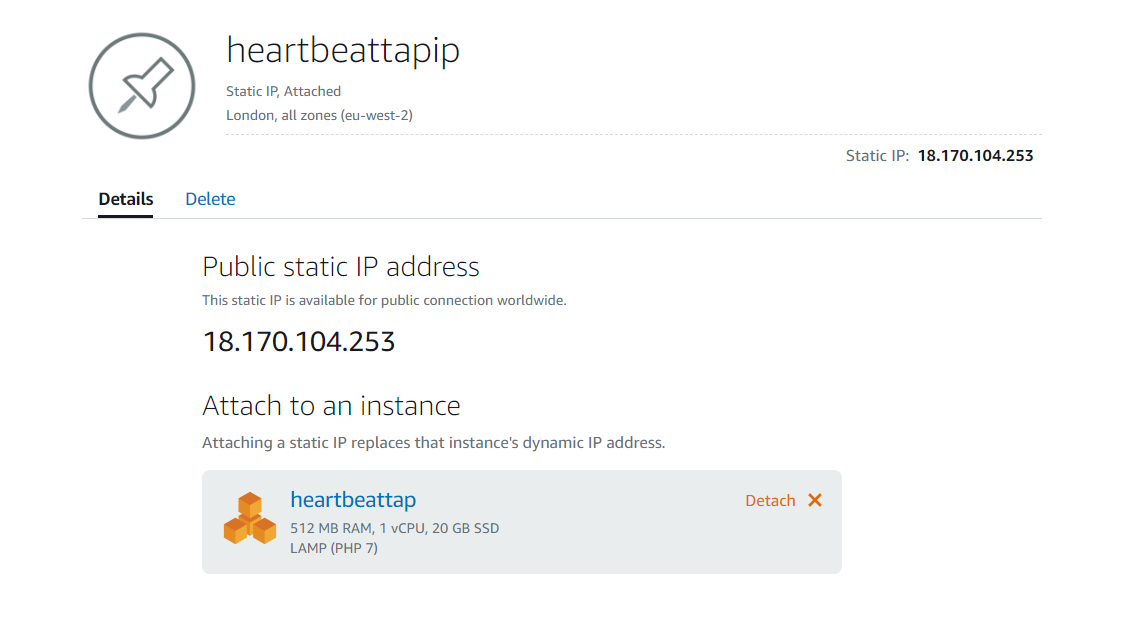
I am using the LightSail platform
within AWS to utilize their pre-built LAMP stack
server. The first thing I did was create a instance. Add image here sinead. This is due
to the pre-configuration settings on the server allowing for a secure development environment
that I can upload my web files to and change the configuration to match. The server I am using
is for a small web server and has 512MB of ram 1vCpu and 20GB SSD while this may seem under
powered the server is only creating singular entries into the database at a time and reviving a
maximum of 20 entries for display on the website.
In addition to the prebuilt LAMP server I will be utilizing another element of LightSail. Their
Static IP network configurator allows me to set a static ip to the server and set these within
my DNS settings. Allowing me to restart the server and keep the same IP and not having to reset
the DNS A records every time.
Once I had fixed the issue with the data being pushed to the database it became clear there was
another issue with the Primary Key row ‘KeyID’ as this is the primary key I was not asiging it
any data but it needs to auto increment in this case. I used the below code to modifiy the row
to do this:
“ALTER TABLE `Heartbeats`
MODIFY `KeyID` int(11) NOT NULL AUTO_INCREMENT, AUTO_INCREMENT=2;
COMMIT;"
Below you can see that database called ‘Heartbeats’ created that contains the user fields that will show their
data once it has been received from the Arduino. The reason I worked in the Command Line was
because I had trouble accessing phpMyAdmin remotely.
I then installed a ssl via ‘lets
encrypt’ so the website shows as a secure site HTTPS, the below screen shots show me installing the SSL and redirecting
traffic from http to https and removing the 'www' from the URL string.
As it is an
industry practise I used GitHub, in the areas
I may have needed assistance during the build of this project.
As mentioned earlier, this project is closely linked to my RSA Case study. In order to submit to the Royal Society of Arts, I was expected to create digital boards display my proposed idea.
In summary, for this porject I used a Microcontroller Arduino and wrote the code that controlled the heart and
light sensor. I created a website and all the graphics in order to create a brand. As well as this, I created a
database that allows for the users data to show and be sent to the Heartbeat Tap website and made this site live
whilst hosting it on a server.
I am please with the progress I have made, especially in this project. I
enjoyed being able to create a physical prototype using the laser printer and I like how to corolates to a
real-life situation (the brief from the RSA). At the start of this project I struggled detailing exactly what
tasks were ahead of me as I had to learn all new skills for this project. I made a strong effort not to fall
behind given the amount of new skills I needed to learn and work that had to be completed in order to finish the
prototype, to see my time managment chart, please click
here.
Please find attached my bibliography of the research content I used to create this project.